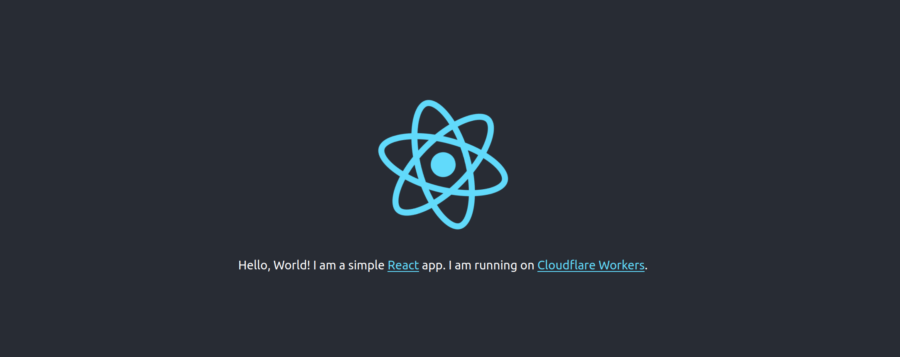
In this tutorial, we use Wrangler and Cloudflare Workers to deploy and serverless serve a static site developed in React.
Cloudflare Workers is a serverless execution environment where you can deploy static sites. Your application will be distributed to hundreds of locations around the world, and served directly from Cloudflare’s CDN at a server close to your users. A truly great platform if you don’t want or don’t need to maintain server infrastructure.
Note: This project was bootstrapped with Create React App and most of this documentation comes from Cloudflare’s Deploy a React app with create‑react‑app tutorial.
See the full code in this Github repo: https://github.com/oxy86/cf-react
Prerequisites
This assumes you have already signed up for a Cloudflare Workers account. You need to do this to be able to publish your Workers on your own domain or a free workers.dev subdomain. Visit https://dash.cloudflare.com/sign-up/workers and the process will guide you through choosing a workers.dev subdomain and verifying your email address.
Also you need to have installed Node.js and npm in your local computer. It is recommended to install it with a Node version manager like nvm, which puts the global node_modules in your home directory to eliminate permissions issues with npm install -g.
Install wrangler and login to Cloudflare Workers
Next install the wrangler CLI tool to be able to use Workers:
npm i @cloudflare/wrangler -g
Now that Wrangler is installed, you’ll need to give it an API Token for your Cloudflare account. Run the command wrangler login and Wrangler will ask to automatically open your web browser to log into your Cloudflare account.
Alternatively, if you have already created a Cloudflare API token, use this command to authenticate Wrangler with that Cloudflare API Token:
wrangler config
This is an interactive command that will prompt you for your API token (Note: Do not use a global API key)…
If all goes well, you should be able to run the command wrangler whoami and see a message
You are logged in with an API Token, associated with the email '[email protected]'!
Create a static site
The first thing to do is to create a new project (i.e. cf-react) with create-react-app, which will include all the relevant dependencies needed to build the project. Use a command like this (changing the app name cf-react as you wish):
Generate the Workers config
Now, enter the newly-created React project folder (i.e. cd cf-react), and use this command to generate a Workers Sites configuration:
wrangler init --site
This will provide the scaffolding necessary to deploy the React application: a workers-site folder with a main index.js script in it and the wrangler.toml config. For the majority of static sites, there is no need to change the Workers script: by default, the script will look at an incoming request, and will serve a corresponding asset from Workers KV based on that route. For instance, if my static site is deployed at mystaticsite.com, requesting mystaticsite.com/about.html will look for a file in KV called about.html, and serve it back to the client. In addition, if the asset being returned from KV is cacheable, it will automatically be cached with Cloudflare’s CDN, making subsequent requests even faster.
To serve a single page application, update workers-site/index.js with the following code to so that all html requests are pointed at your root index.html file.
import { getAssetFromKV, serveSinglePageApp } from '@cloudflare/kv-asset-handler';
async function handleEvent(event) {
    ...
    const asset = await getAssetFromKV(event, { mapRequestToAsset: serveSinglePageApp });
}
Configure and publish the app
Edit the wrangler.toml file and add your Cloudflare Account Id (in key account_id). You may find this id on you Account Home (the screen you see after you login to Cloudflare) and then clicking Workers. Note: It is ok to leave that Account ID in a public repo, as no action can be taken on your behalf without a corresponding API Token / Key, which should always be secret.
Also, there is a bucket key in the wrangler.toml that indicates the “build” folder that Sites will deploy to Workers. create-react-app uses a folder named build. So, we need to change the bucket key in wrangler.toml to build:
wrangler.toml
# ... previous wrangler config
site = {bucket = "./build", entry-point = "workers-site"}
With wrangler.toml configured, it’s time to build the project, and publish it to Workers. Run npm run build to tell create-react-app to build the site, and wrangler publish to deploy it to Workers:
npm run build
and then
wrangler publish
The last command will upload your app (scripts and static files) and publish it to a url like this https://cf-react.your-workers-subdomain.workers.dev.
Alternatively, to easily test your Worker while developing. you can run
wrangler dev
This command establishes a connection between localhost (your computer) and an edge server that operates your Worker in development. A cloudflared tunnel forwards all requests to the edge server, which continuously updates as your Worker code changes. This allows full access to Workers KV, Durable Objects, etc. You can see your app with your browser at:
From then on, you can start developing your React app. I.e. edit src/App.js etc…
Learn more about React and Create React App
You can learn more about Create React App in the Create React App documentation.
To learn React, check out the React documentation.


Leave a Reply