
Note: This article is old and the information is obsolete. Please use Let’s Encrypt to get Free SSL/TLS Certificates.
This how-to describes the process to obtain 100% free, signed SSL Certificates from StartSSL.com and configure Apache in Debian to use these SSL certificates in your virtual domains, so that people can access your site(s) through https (i.e. https://example.com) without ever having the browser tell them the scary “this site isn’t trusted” anymore.
Before you start, you will need:
- One or more of your functional domains which point to a server you own and have root access to. In this tutorial I’ll be using my wife’s supersyntages.gr as testbed.
- A browser, for this tutorial Chrome, although you might prefer Firefox (see below why).
- Root access to your server with Debian and Apache installed, with the above domains configured as VirtualHost.
- The openssl package installed in your computer.
- One of the following emails configured in each of the domains you want to include in the SSL certificates:
[email protected]
[email protected]
[email protected]
We will be using StartSSL.com service to obtain our SSL certificates. StartSSL.com offers free and verified Class 1 Domain Validated SSL certificates with up to 10 domains per certificate that you can use on your websites and are valid for 3 years, although you will have to validate each domain again every year (but it is really a very simple process). Note also that those certificates are personal, that is you will be asked to provide correct and personal details during registration.
Another, perhaps easier, option to obtain free SSL certificates is using Let’s Encrypt, a free, automated, and open certificate authority (CA), run for the public’s benefit. It is a service provided by the Internet Security Research Group (ISRG) and a Linux Foundation Collaborative Project. The only downside is that those SSL certificates are valid for 90 days only thus they need to be renewed less than 90 days (you can setup auto renewal with a simple cronjob).
The process will be done in 5 steps:
First, we will sign up in StartSSL.com
Second, we will be verified for Class 1 validation for domain control/email validation and create a password-protected private key. We’ ll be using that key in the Apache server along with the final SSL Certificate files.
Third,we will validate all the domains we want to have in each SSL certificate.
Fourth, we will create and get our SSL certificates.
Fifth and last step, we will copy each SSL certificate to our server and setup Apache (and each virtualhost) to listen to port 443 and use the new certificate when a user visits our site at https://www.yourdomain.com
Step 1. Sign up in StartSSL.com
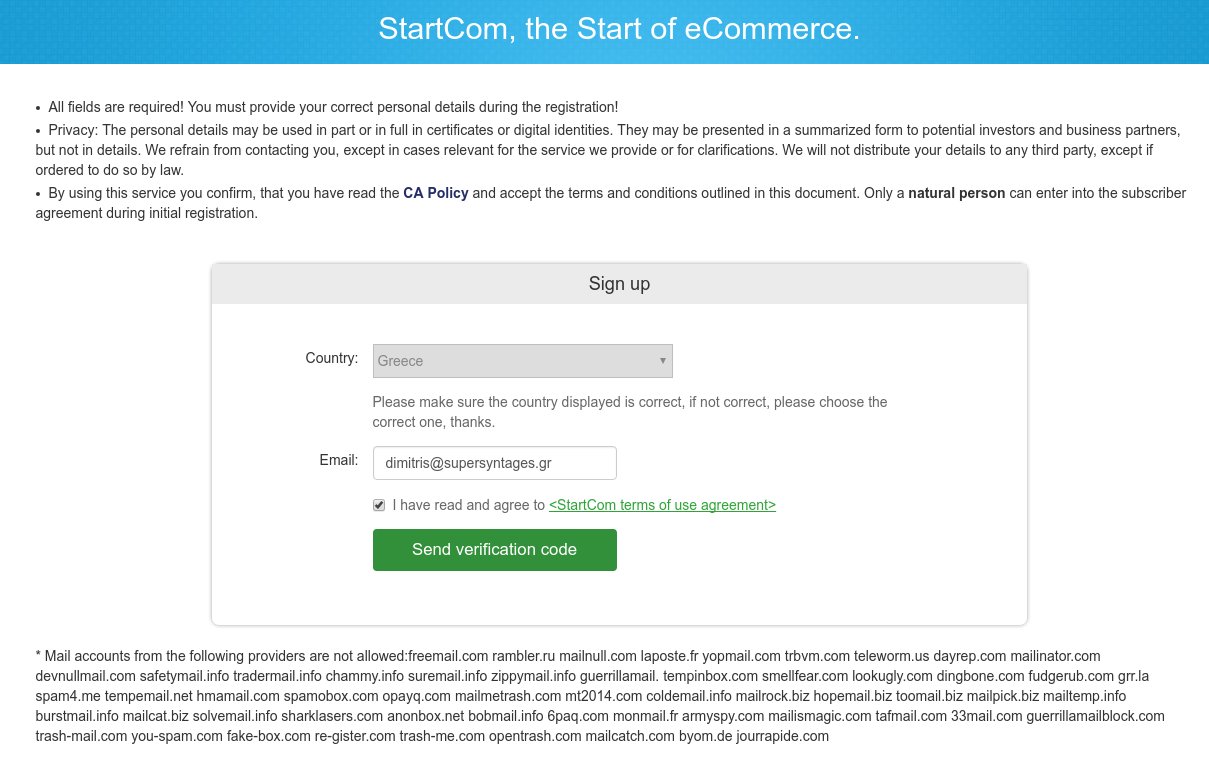
Open https://www.startssl.com/ and click on Sign-up.
On the SignUp dialog, select your country (if not already set), enter a valid email address where you have access and press “Send verification code”. A verification code will be send immediately to your email.
Go to your email client and search for a new email from “StartCom Validation” with the authentication code. Copy and paste that code to the new “Verification Code” textbox which should be present now in the SignUp screen, and press “Sign Up”.
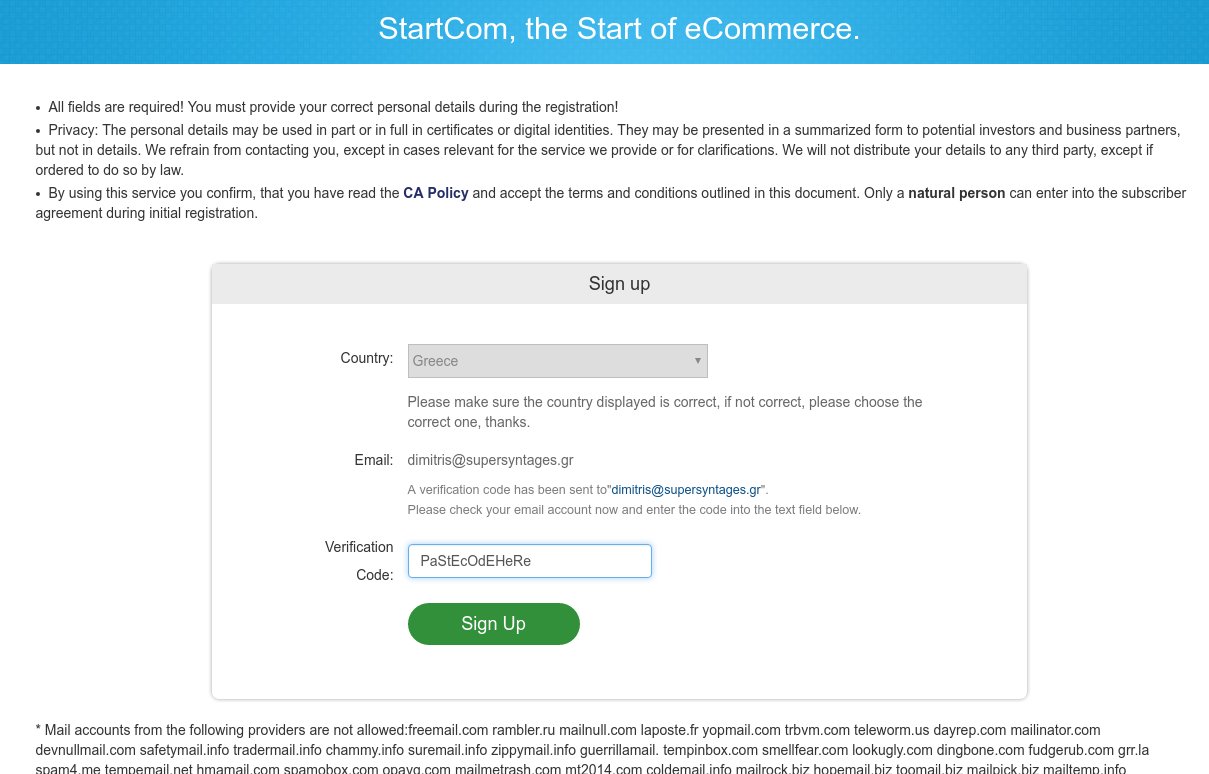
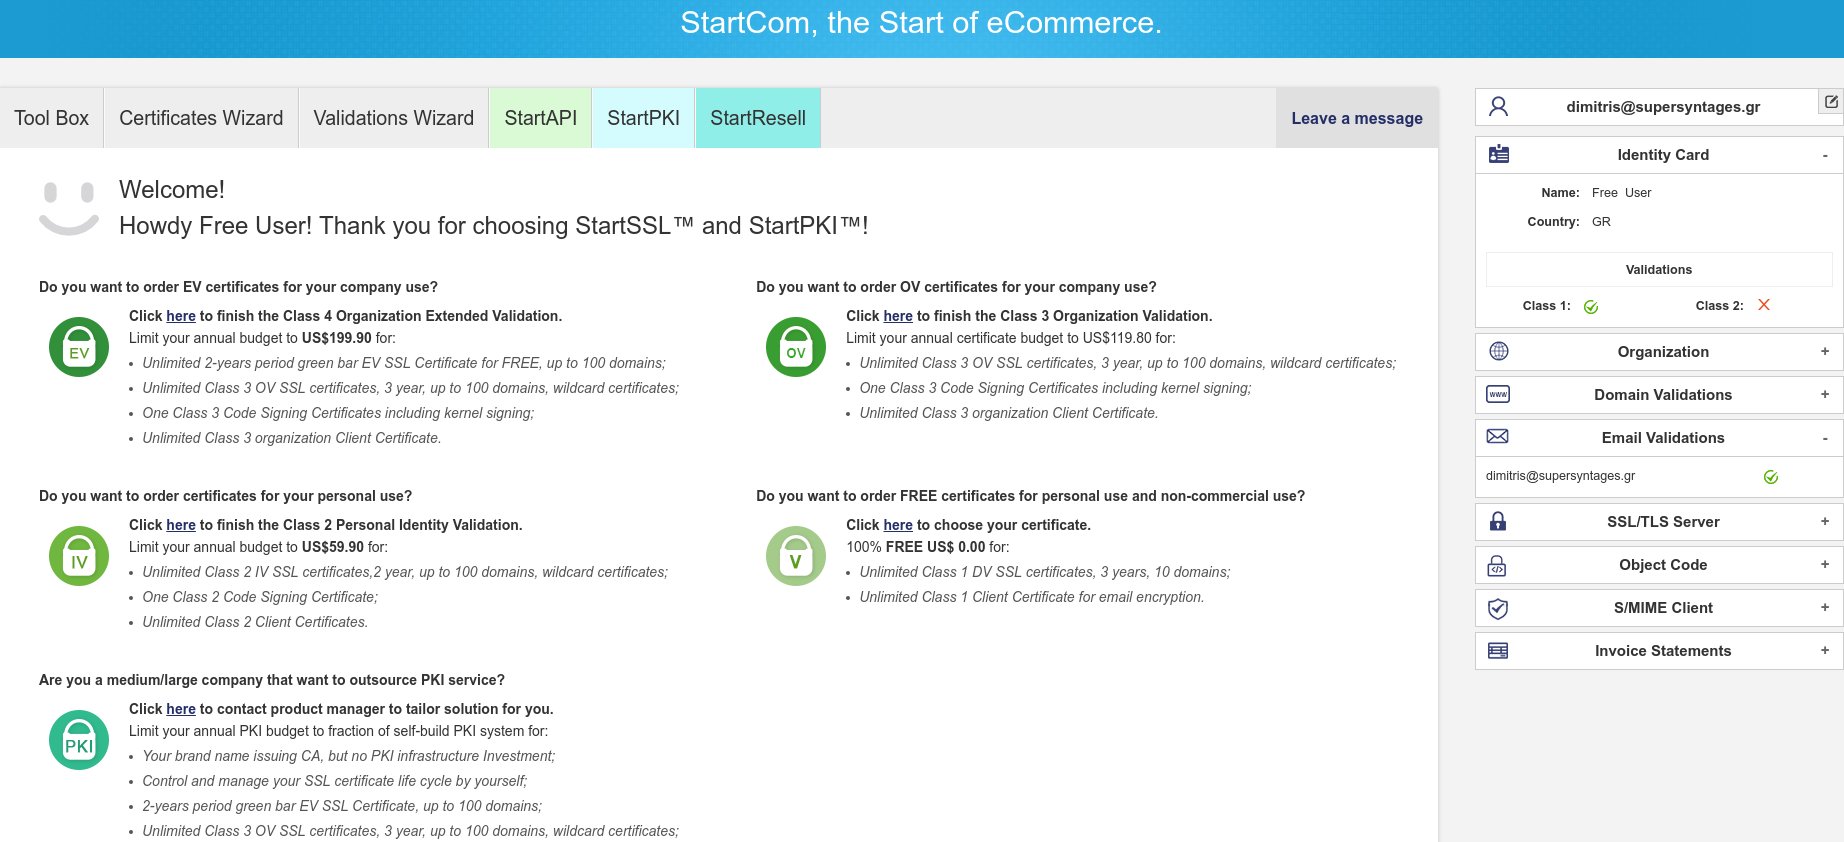
Your email is now verified and you should be already logged in the StartSSL Control Panel.
Step 2. Class 1 validation for domain control & private key creation
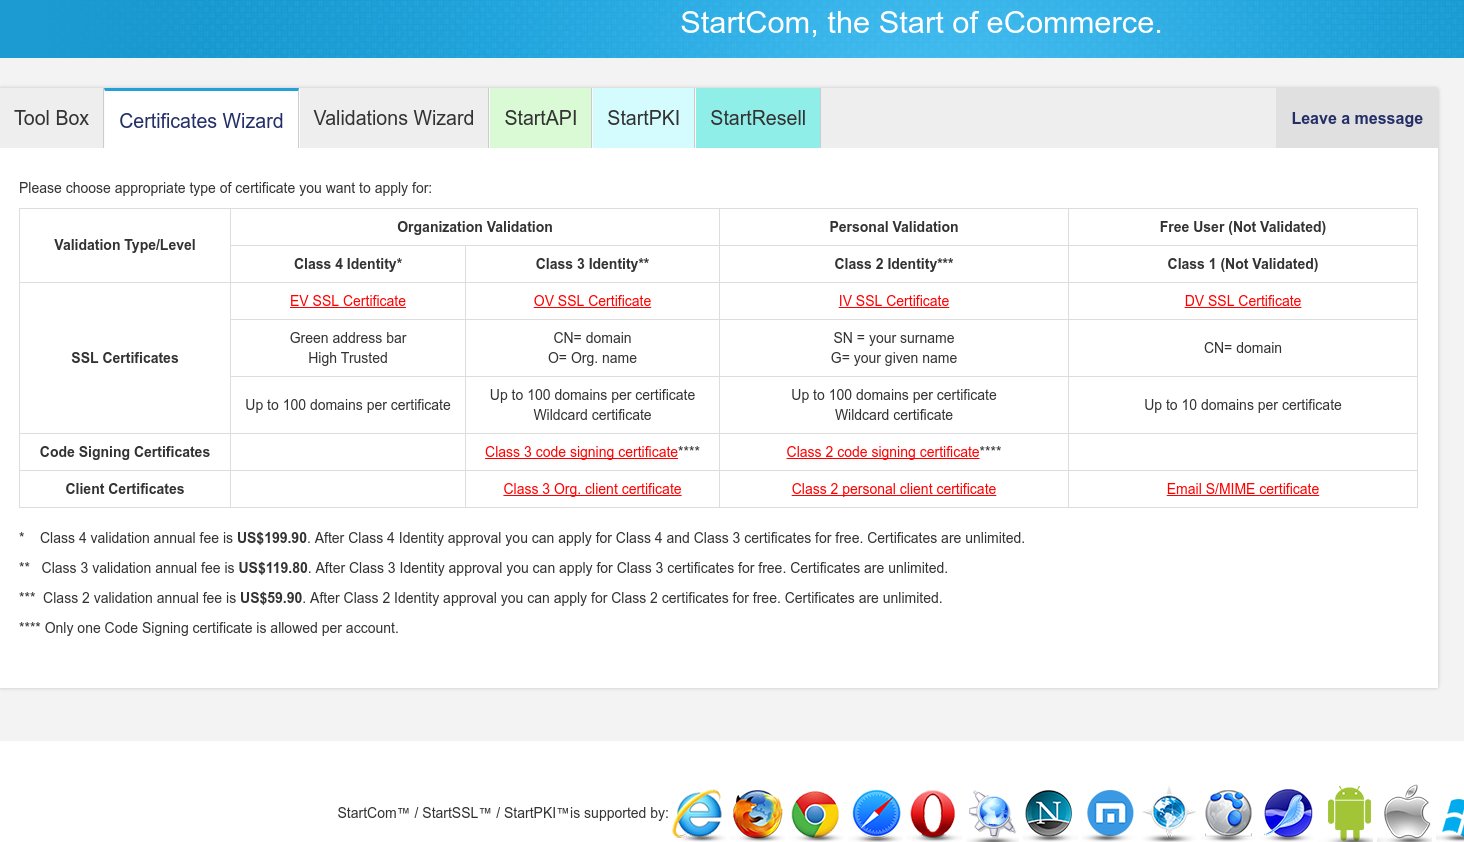
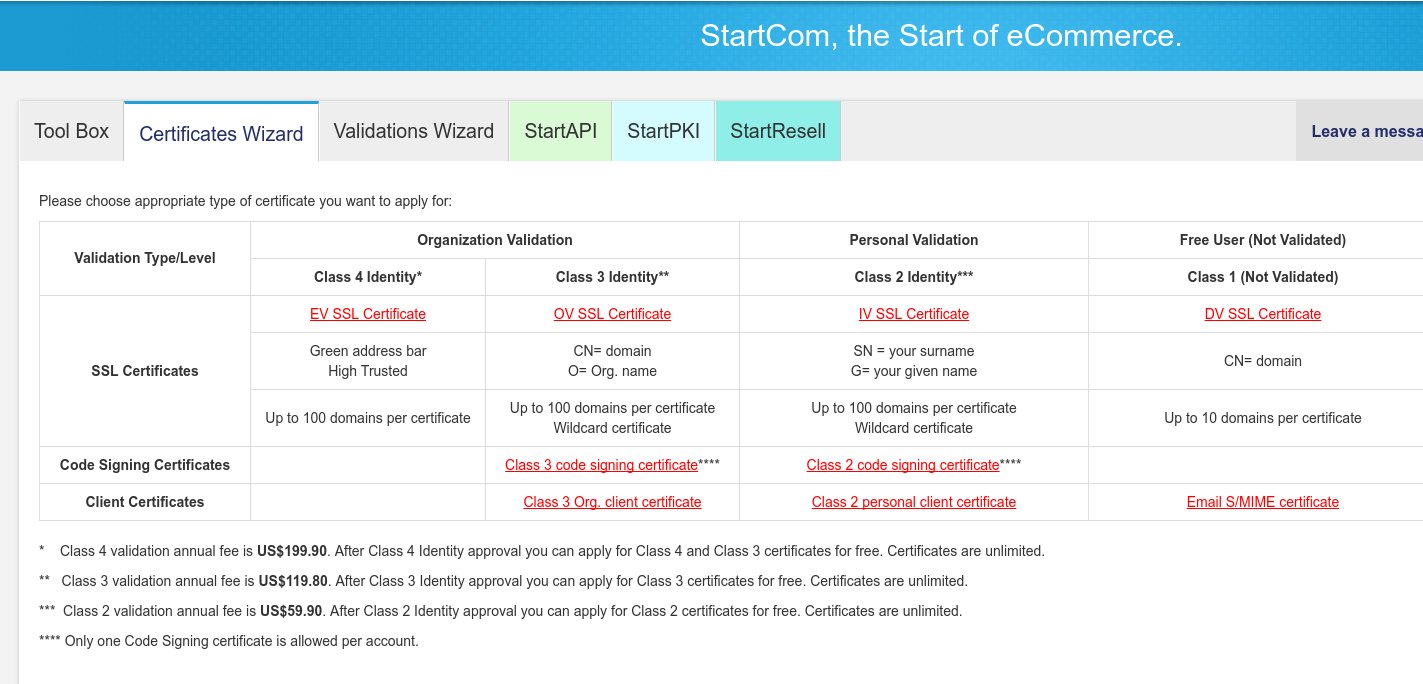
Before we create any SSL certificates, we will need to create a private key which accompany our certificates. Click on the Certificates Wizard tab and on the new screen click on the “Email S/MIME certificate” (last row of last column)
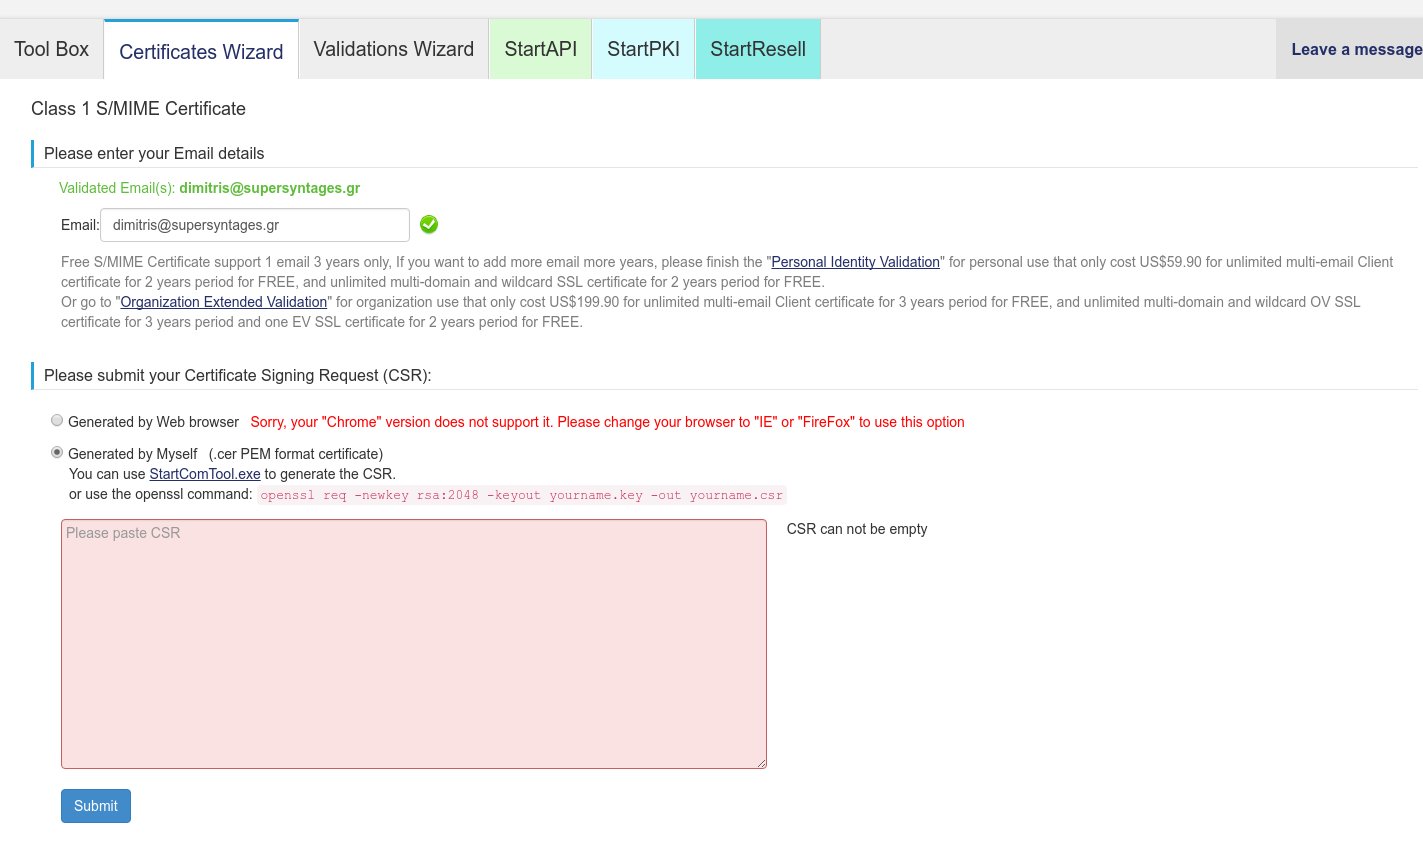
On the new screen (titled “Class 1 S/MIME Certificate”) you will need to enter a validated email address and submit your Certificate Signing Request (CSR).
If you are on Firefox or IE, you can have the browser generate the CSR for you, but if you are on Chrome/Chromium, you need to generate it yourself from another program (openssl, see right below). So, if you are on Chrome click on the “Generated by Myself” option and a large text box will appear where we should paste our CSR.
Now, to create a CSR, open a console and use the openssl command as follows:
openssl req -newkey rsa:2048 -keyout yourname.key -out yourname.csr
You will need to enter a pass phrase (twice), along with your Country Code,Province, City, Organization name, Org Unit, a Common name for this key and your email address.
Note: Remember the pass phrase. You will need it in the final Step 5 to unlock the key while restarting the Apache!
In the end, this command will generate a 2048 bit RSA private key, which will be written into the yourname.key file you specified, and a same-named CSR file. The yourname.key file is really what all this about, so keep it safe – we will need that in Step 5. We will also need the CSR file below and in Step 4.
$ openssl req -newkey rsa:2048 -keyout dimitrissupersyntages.key -out dimitrissupersyntages.csr
Generating a 2048 bit RSA private key
..................................................................................................................................................+++
.......+++
writing new private key to 'dimitrissupersyntages.key'
Enter PEM pass phrase:
Verifying - Enter PEM pass phrase:
-----
You are about to be asked to enter information that will be incorporated
into your certificate request.
What you are about to enter is what is called a Distinguished Name or a DN.
There are quite a few fields but you can leave some blank
For some fields there will be a default value,
If you enter '.', the field will be left blank.
-----
Country Name (2 letter code) [AU]:GR
State or Province Name (full name) [Some-State]:Attiki
Locality Name (eg, city) []:Athens
Organization Name (eg, company) [Internet Widgits Pty Ltd]:Supersyntages.gr
Organizational Unit Name (eg, section) []:IT
Common Name (e.g. server FQDN or YOUR name) []:Dimitris Kalamaras
Email Address []:[email protected]

Please enter the following 'extra' attributes
to be sent with your certificate request
A challenge password []:
An optional company name []:
To finish the S/MIME Certificate process, open the yourname.csr file (not the .key file!) and copy its contents. Now, back to the Class 1 S/MIME Certificate Wizard screen, paste the CSR contents in the text box and press Submit:
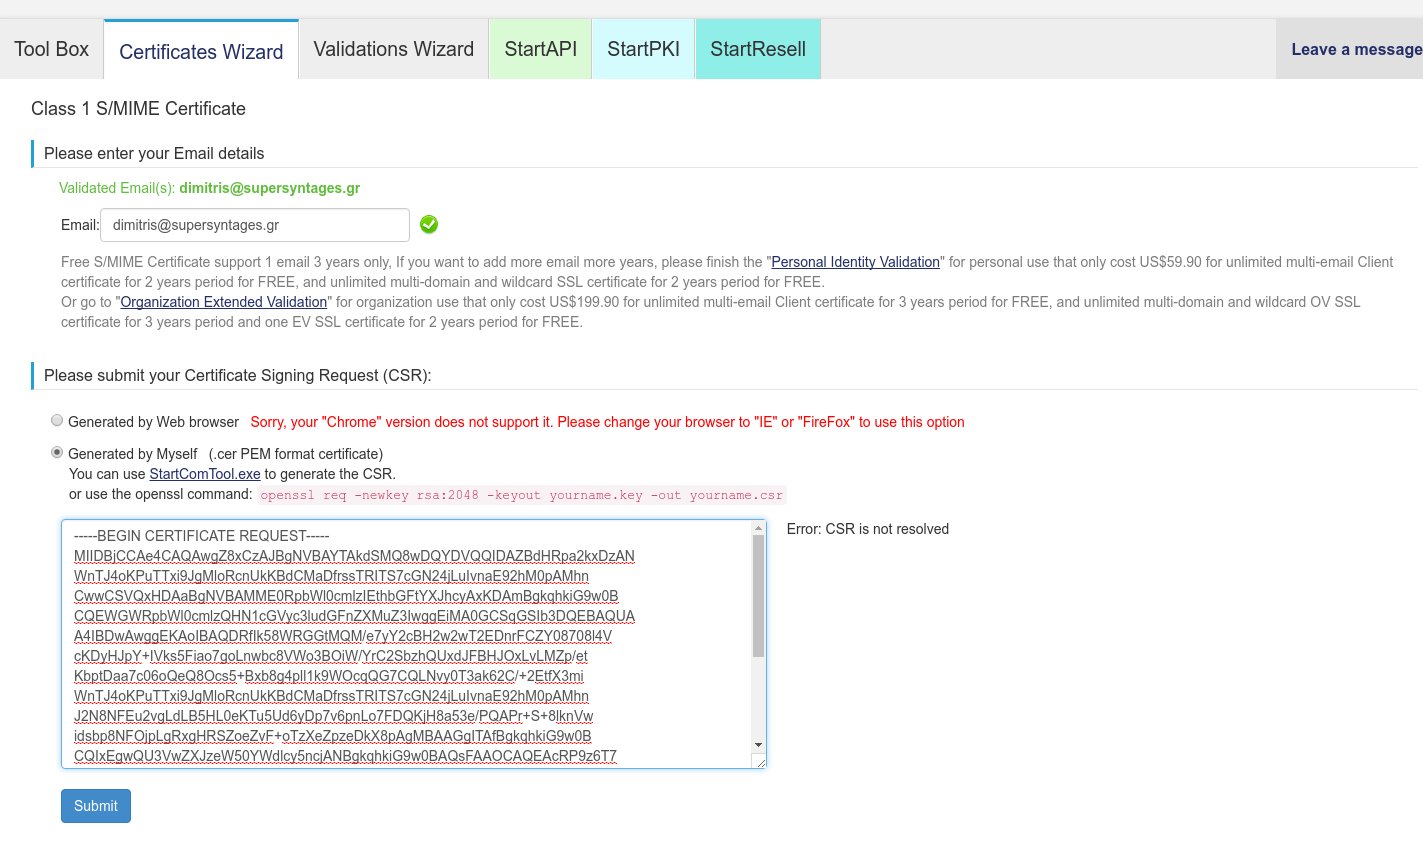
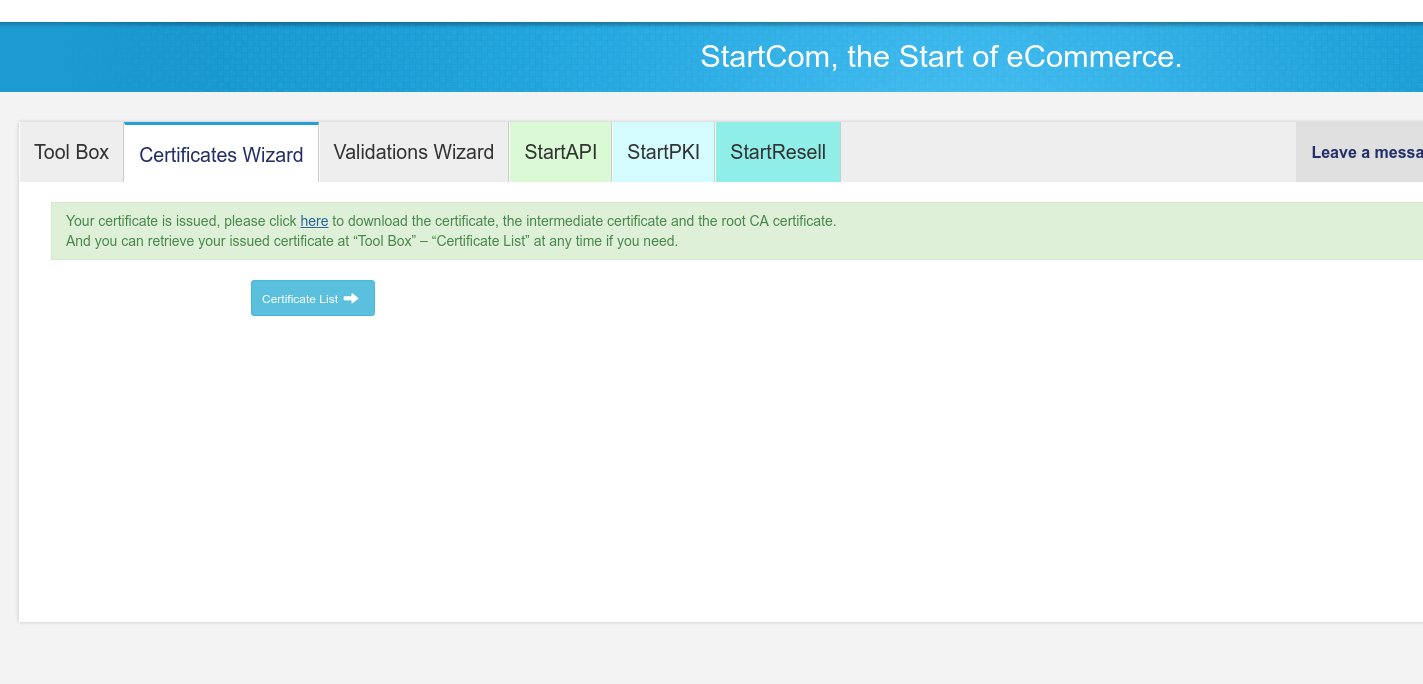
If all was OK, you will see a “Certificate Issued” message along with a link to download your new S/MIME certificate.
Note: If you like, the StartSSL Control Panel can create a PKCS#12 (.p12) archive for you. In the Tool Box tab click “Create PKCS#12 (PFX) File”. Paste your private key and the certificate and enter a password.
In any case, now we can proceed to create our SSL certificates for one or more domains.
Step 3. Validation of each domain to be included in the DV SSL Certificate
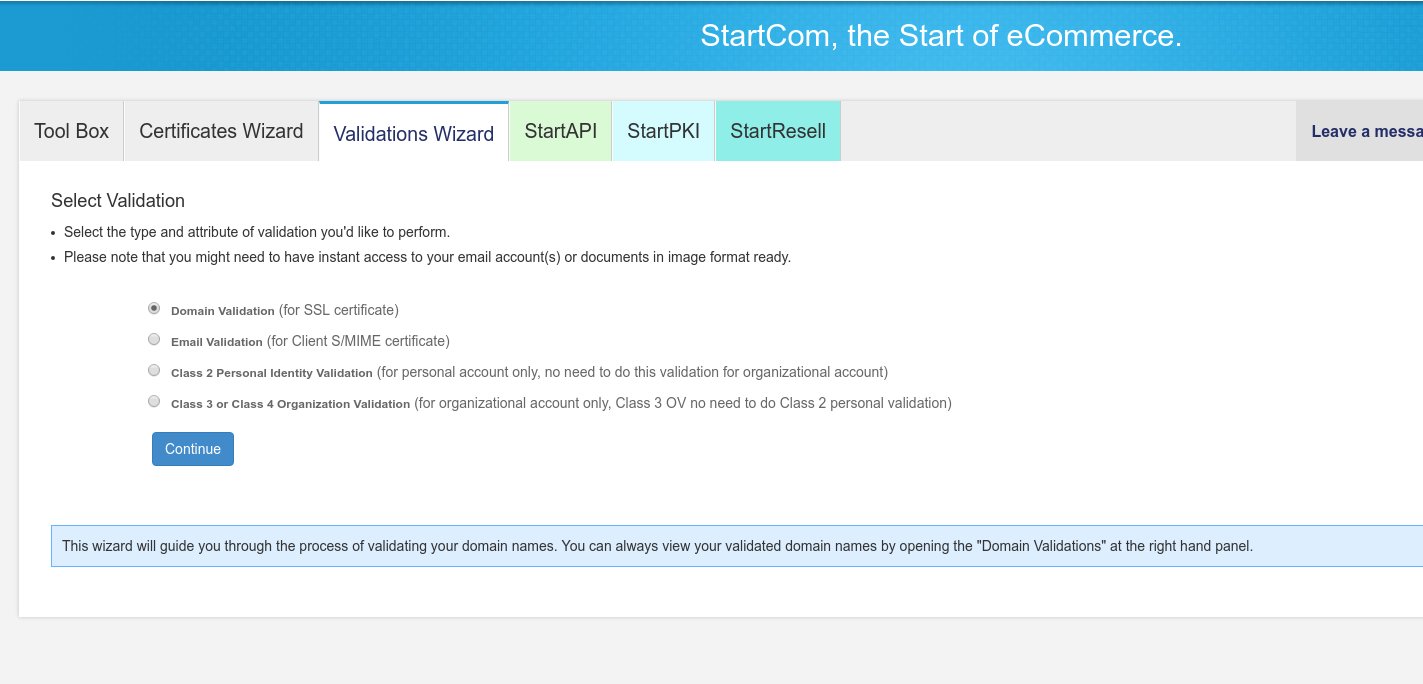
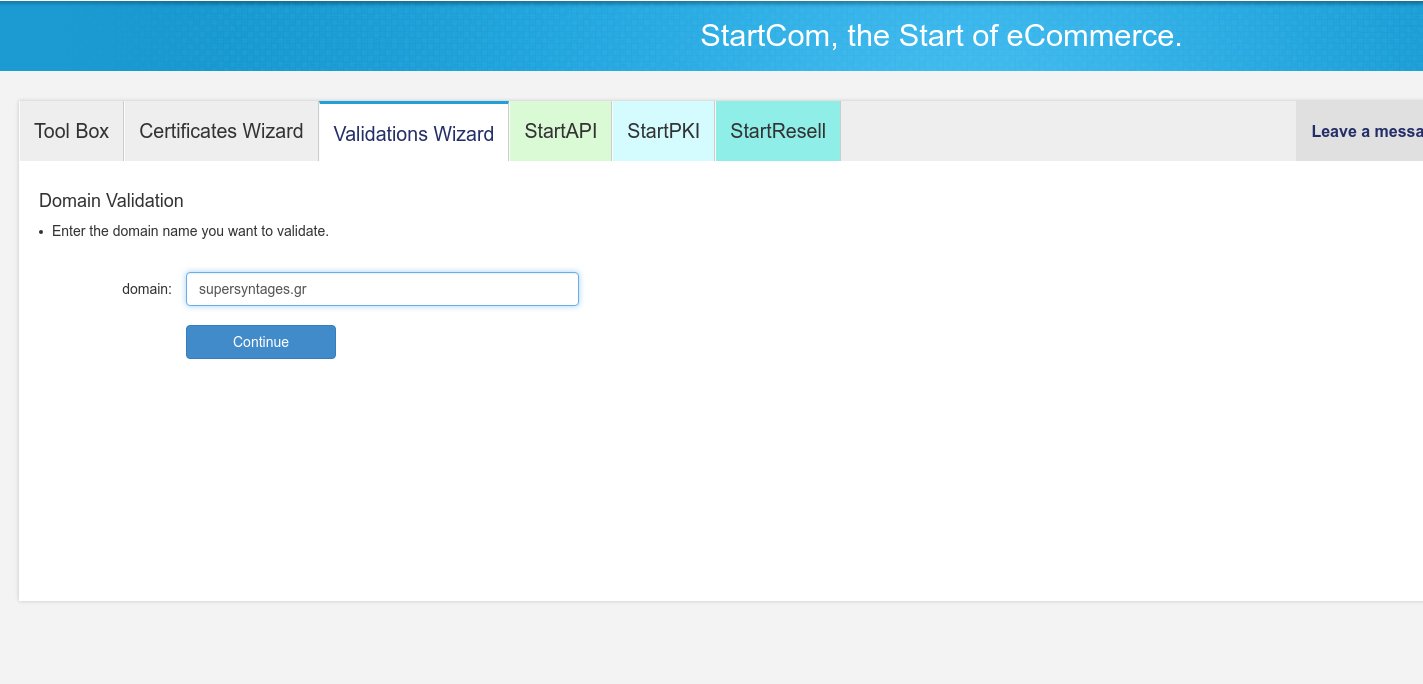
Since we will be creating Domain-Validated SSL Certificates, we will first need to validate those domains. Click on the Validations Wizard tab and select “Domain Validation”, then click Continue.
 In the next screen enter the domain you want to validate.
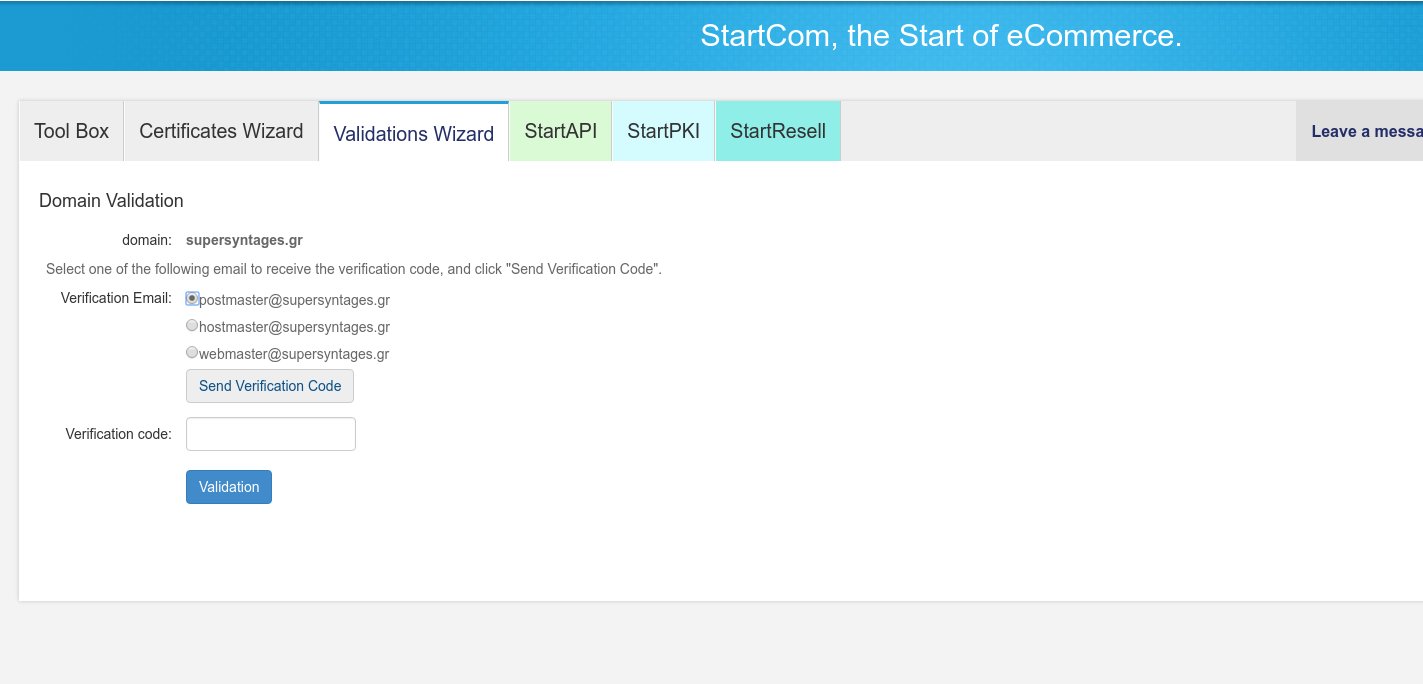
In the next screen select on of the three email address options, i.e. [email protected] and click on the “Send Verification Code” button. You should already have configured and have access to one of them, as stated in the intro of this how-to, otherwise you cannot validate this domain.
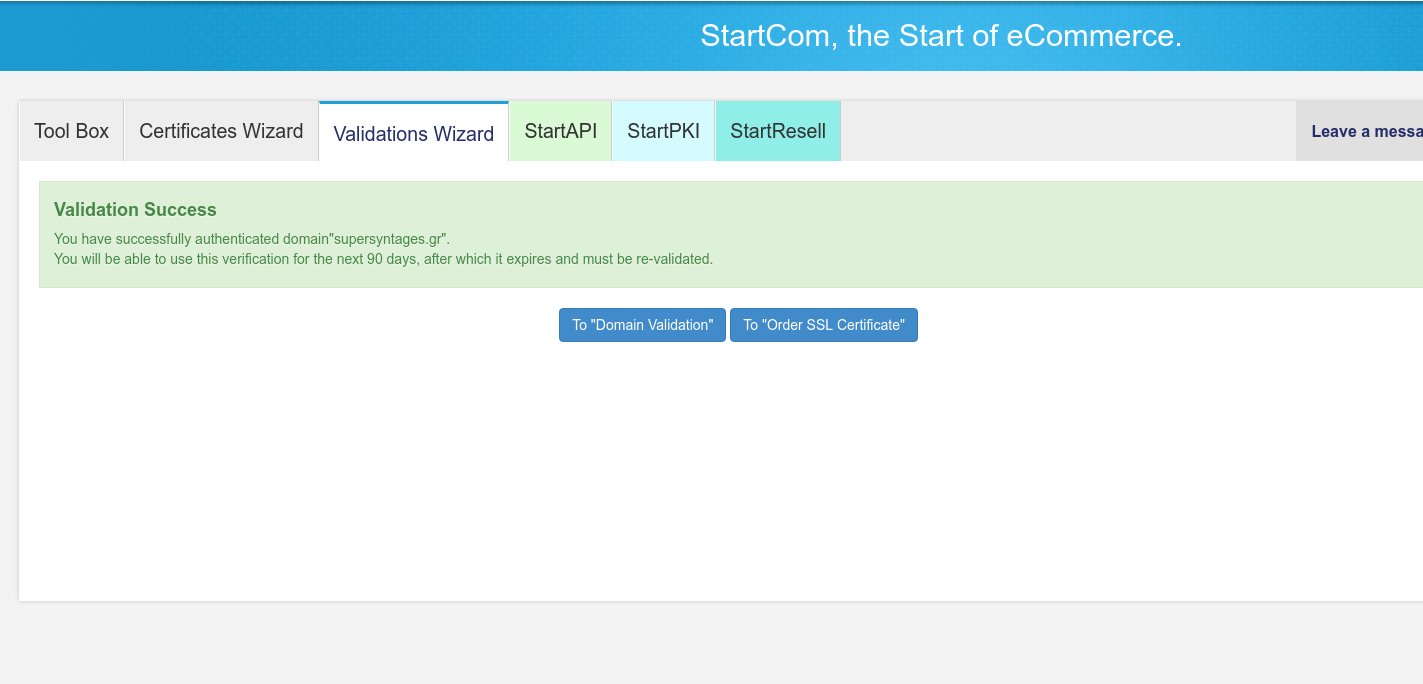
Go to the email account you selected before, and a new email with subject “Your Authentication Code <date>” should have arrived from “StartCom Validation” — if not search Spam. Copy your domain verification code and paste it in the “Domain Validation” screen you left open in the StartSSL Control Panel. Press Validation and you should see a “Validation Success” message.
You can repeat this Domain Validation process for every one of the domains you want to add in any of the SSL certificates you will create in the next step.
Step 4. Create DV SSL Certificates
We are ready to create our first Free SSL Certificate.
On the StartSSL Control Panel, click on the Certificates Wizard tab again and then click on the “DV SSL Certificate” link (last column, second row).
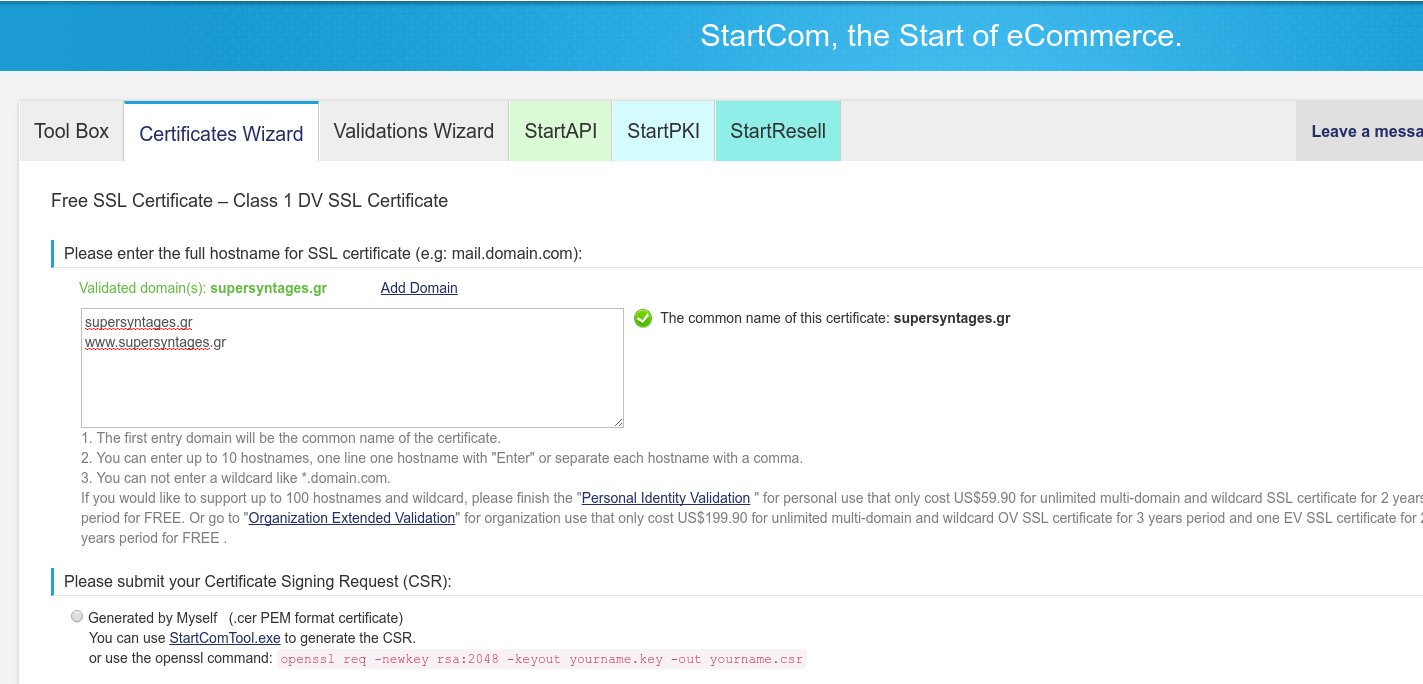
In the next screen you should see a textbox where you enter the hostnames to be added in this SSL certificate. Above, you should see all validated domains you can use. You can add up to 10 hostnames here, provided they belong to a validated domain. The first entry will be used as common name for this certificate (and its final file).
Below, you must submit a Certificate Signing Request (CSR). You already have one (remember step 2?) so click on “Generated by myself”. Open the yourname.csr file you created in Step 2 and paste its contents in the textbox.
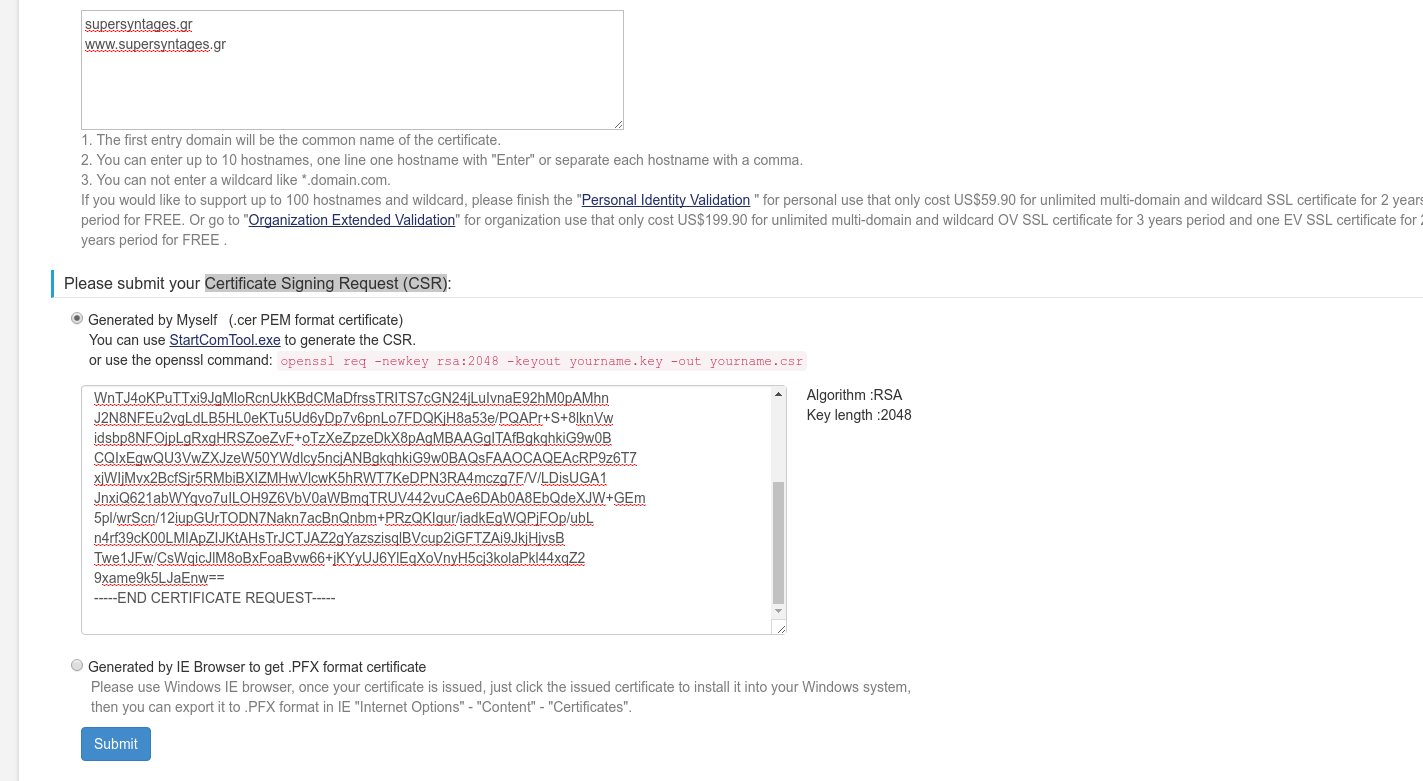
Press Submit and you should finally see the “Your certificate is issued, please click here to download …”. Click on “here” to download it. 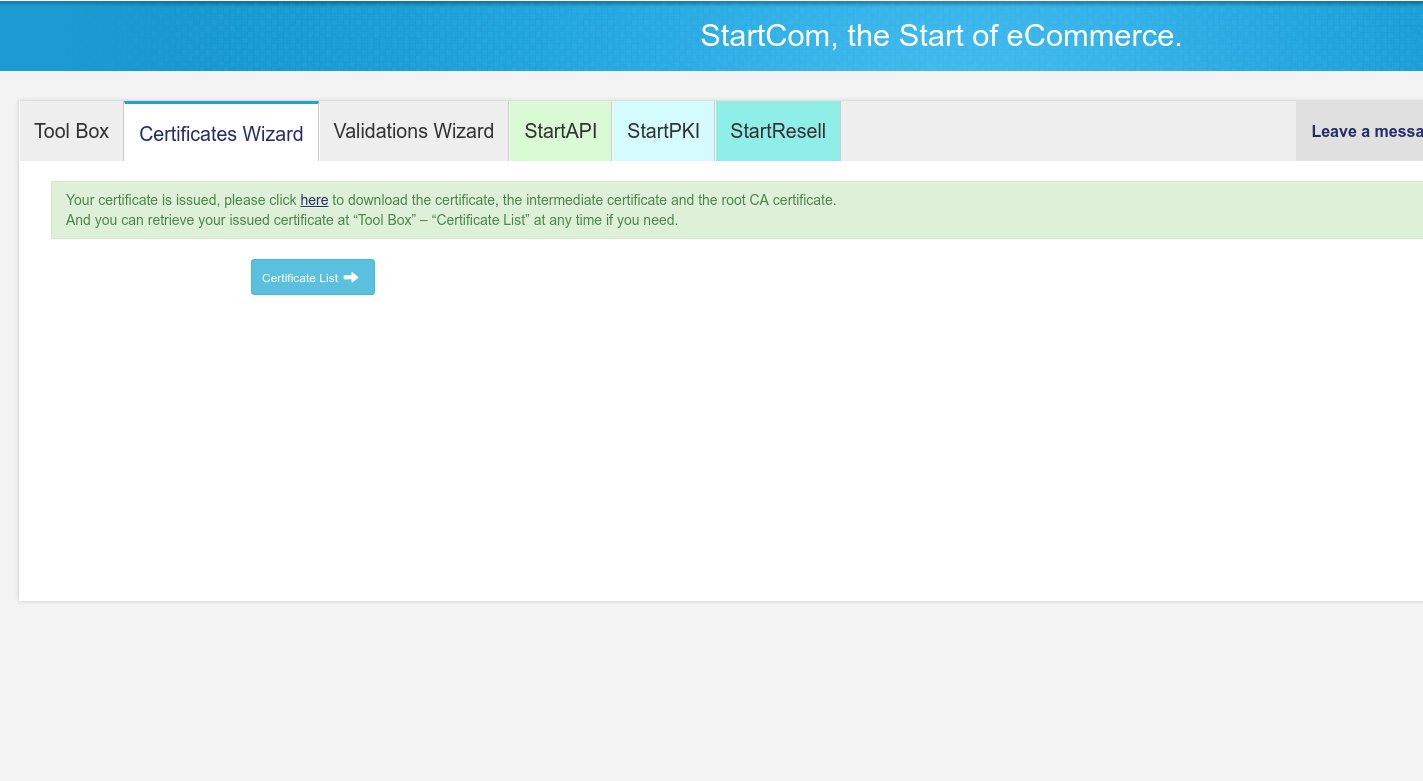
Inside the zip file you downloaded you will find zipped certificate files for Apache and other web servers. 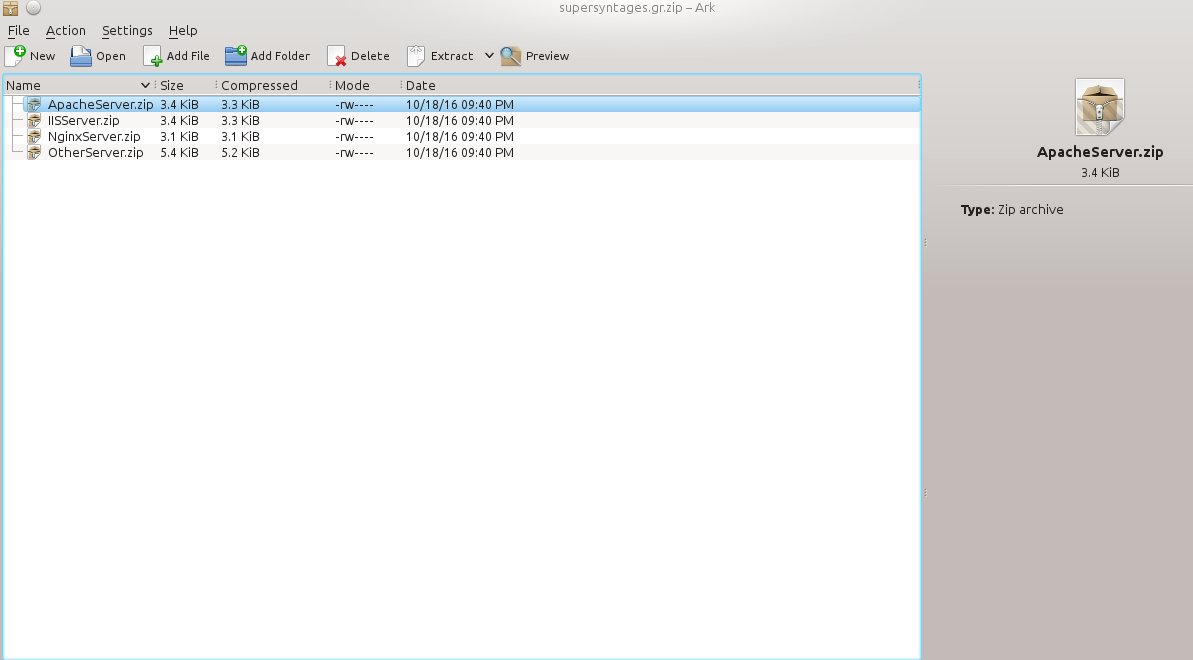
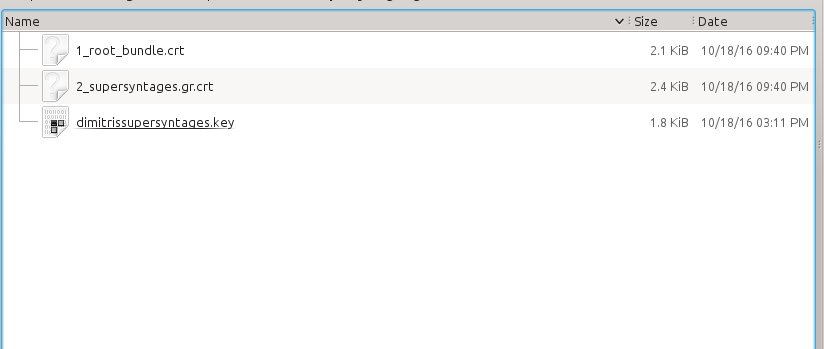
Unzip the ApacheServer.zip to get the two .crt files inside it. One is called 1_root_bundle.crt and we will be using it as SSLCertificateChainFile. The other file is the certificate for the domains you specified earlier with the common name (in my case called 2_supersyntages.gr.crt) . To setup your Apache for secure connections to your domains , you will need these two files along with the yourdomain.key private key file you created in Step 2.
Step 5: Setup the Apache and the virtualhost(s)
Log in your server and create a new read only directory under the /etc/apache2/ directory. You can use ssl/<domain> for each SSL certificate you have issued. For example, I created the folder /etc/apache2/ssl/supersyntages.gr
Copy the two .crt fles (1_root_bundle.crt and 2_yourdomain.com.crt) and the yourdomain.key private file in the new folder. So, you should have something like that inside it:
Now, open the apache .conf file for each domain you want to enable secure connections to it (i.e. /etc/apache2/sites-available/supersyntages.conf) and copy all the current configuration.

Paste it below the last line and change the first line from
<VirtualHost *:80>
to
<VirtualHost *:443>
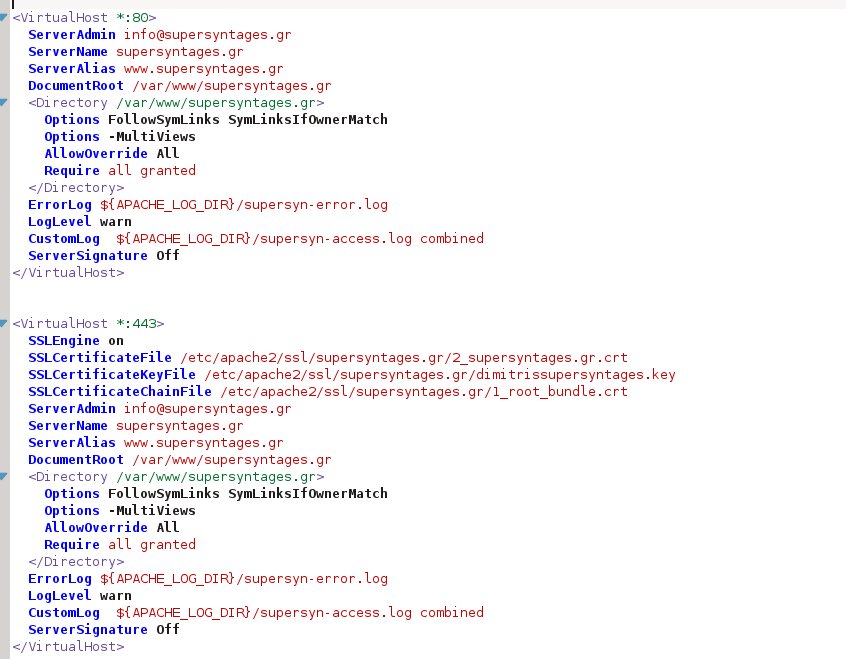
Below that add these 4 lines, changing the paths and the files to match yours (the example assumes you created a subdirectory called “domain” under /etc/apache2/ssl/ to store the ssl certificate files for that domain):
SSLEngine on
SSLCertificateFile /etc/apache2/ssl/domain/2_yourdomain.com.crt
SSLCertificateKeyFile /etc/apache2/ssl/domain/yourdomain.key
SSLCertificateChainFile /etc/apache2/ssl/domain/1_root_bundle.crt
This is my final file:
We have finished. Just enable the SSL apache2 module
sudo a2enmod ssl
and restart Apache2 to apply the changes. Before restarting Apache you can check the configuration changes your did for errors:
apachectl configtest
Finally, cross your fingers and restart the Apache:
service apache2 restart
Apache will ask you to enter the passphrase for your private key. Enter the password you specified during the private key creation process (Step 2).
# service apache2 restart

Enter passphrase for SSL/TLS keys for supersyntages.gr:443 (RSA): ************
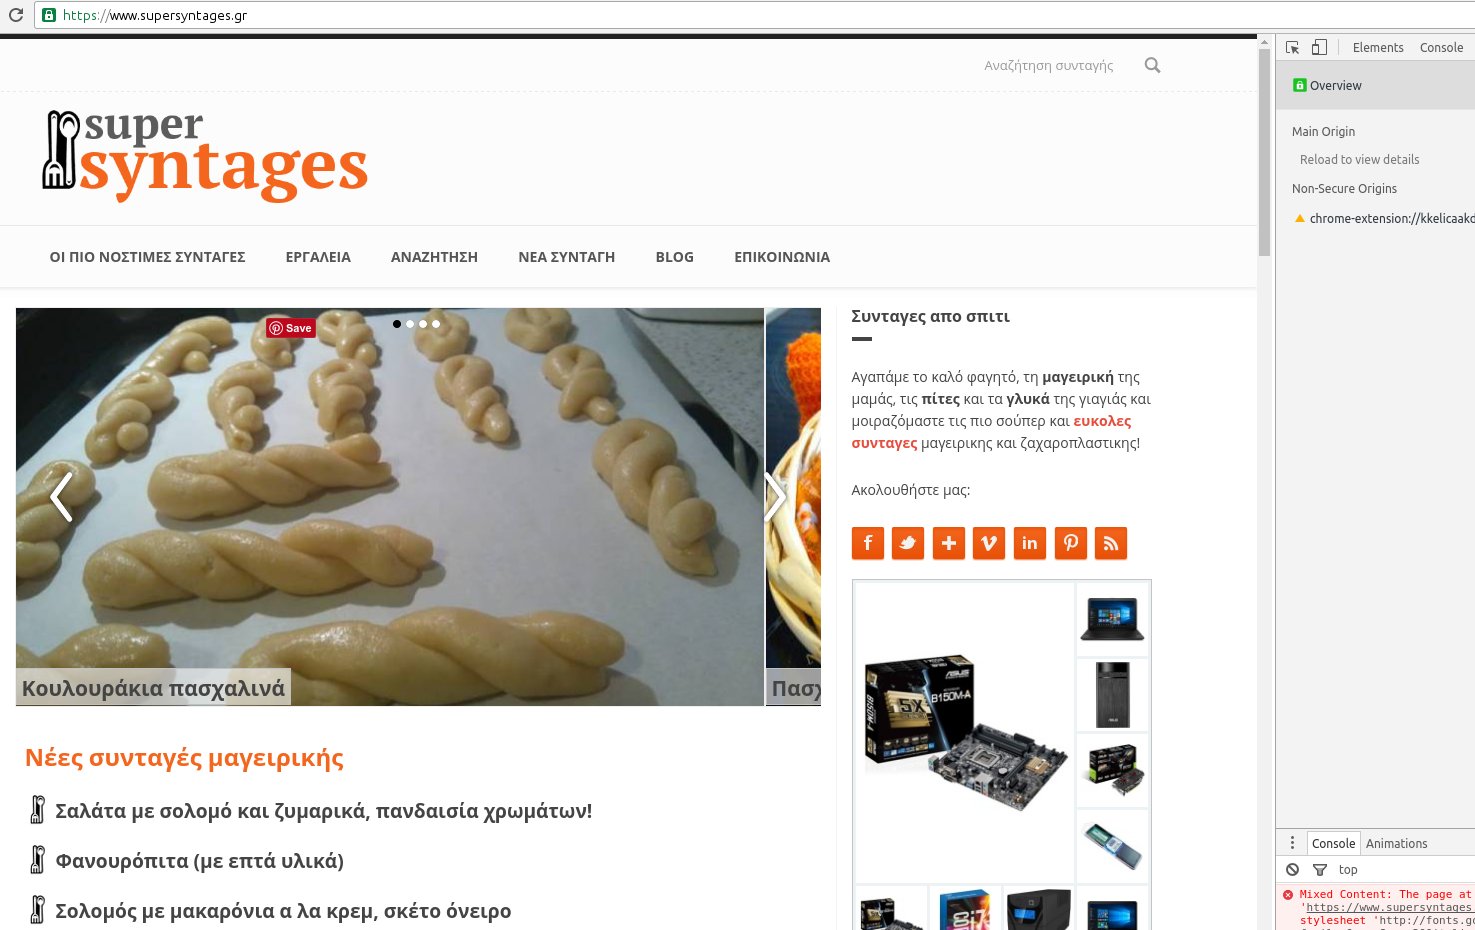
You should be able to visit https://yourdomain.com from any browser.
Note: Due to the fact that the private key is password-protected, you will be asked for it every time you restart Apache! This is a security measure and you should not worry about it, it is not an error. Nevertheless, if you find this to be cumbersome, and you are certain your server is unbreakable (thus your keys 100% protected) you could create a password-less private key in Step 2. See more here.
Have fun!
Tip: If you have lost the client certificate and you can’t login anymore in StartSSL to validate, get a new certificate on https://www.startssl.com/ReissueNewCertificate. You will be asked for your email where a confirmation code will be sent. Enter that code on the textbox and your client certificate will be installed on your browser (Firefox/IE).
Tip: If you wonder about the differences between DV and EV SSL certificates, you can read this.
Tip: If you have any problems, you better read the StartSSL FAQ
Tip: If you are getting console messages like “Blocked loading mixed active content” in Firefox or “This page is trying to load scripts from unauthenticated sources” in Chrome while browsing your site securely (https://), it’s probably because you load some third-party scripts in non-secure (http://) way (in my case it was the Google fonts). See https://support.google.com/chrome/answer/1342714


Gordon McIntosh
startssl has been closed since 1st Jan 18
Dimitris Kalamaras
Thanks for the heads up. A note has been added in the beginning of the article.