Η Cordella είναι η 1η και μοναδική online λίστα δώρων στην Ελλάδα που επιτρέπει σε ζευγάρια και καλεσμένους να επιλέξουν ανάμεσα σε μία μεγάλη ποικιλία δώρων γάμου & βάπτισης, με χιλιάδες προϊόντα, δώρα εμπειρίας, αλλά και τη δυνατότητα κατάθεσης χρημάτων 🎁💕

In this video, hear Lemmy explain some facts about religion, politics and war and how people use them to fuel their own sick desires or subjugate others because of religion or in the name of it. Tells a lot about what is happening in our world right now…
Orgasmatron Lyrics
I am the one, Orgasmatron, the outstretched grasping hand
My image is of agony, my servants rape the land
Obsequious and arrogant, clandestine and vain
Two thousand years of misery, of torture in my name
Hypocrisy made paramount, paranoia the law
My name is called religion; sadistic, sacred whoreI twist the truth, I rule the world, my crown is called deceit
I am the emperor of lies, you grovel at my feet
I rob you and I slaughter you, your downfall is my gain
And still you play the sycophant and revel in your pain
And all my promises are lies, all my love is hate
I am the politician and I decide your fateI march before a martyred world, an army for the fight
Songwriters: Peter Gill / Michael Burston / Philip Campbell / Ian Kilmister
I speak of great heroic days, of victory and might
I hold a banner drenched in blood, I urge you to be brave
I lead you to your destiny, I lead you to your grave
Your bones will build my palaces, your eyes will stud my crown
For I am Mars, the God of War, and I will cut you down

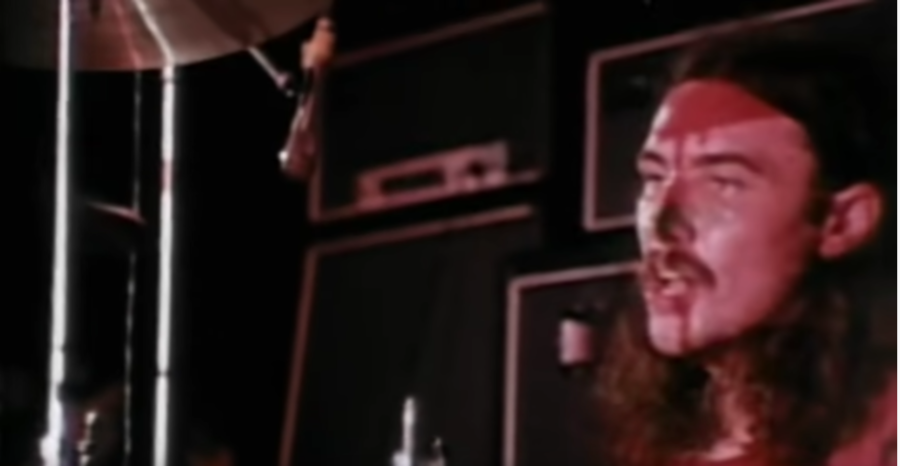
This is Metallica with Cliff playing live For Whom the Bell Tolls, recorded in August 31, 1985 at Day on the Green, Oakland, CA. This version is simply the best live performance of this song ever, and worth listening for the bass shredding alone. RIP bass legend, Cliff. Cliff ‘Em All!
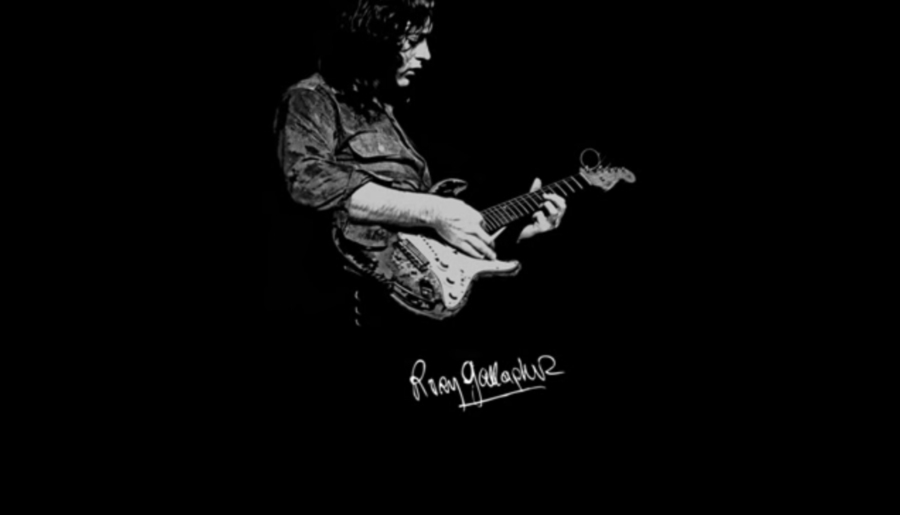
Here’s the great Rory Gallagher performing live the song “A Million Miles Away” (1977). Rory is on fire here, as well as the whole band. R.I.P. Rory…
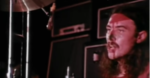
In the following video, Black Sabbath perform their masterpiece “War Pigs” live at the Olympia Theater in Paris, France (December 20, 1970). This was almost 52 years ago, but it still rings true, in fact every line Ozzy sings is still true word for word. Geezer had it dead-on when he wrote this damn song. This is a lyrical masterpiece. As someone wrote, this is “a stark and grim reminder of how the reckless and selfish decisions of a few would affect the lives of many“. Watch and feel it.

Set the controls for your diaries: Athens – 4/6/2022… Nick Mason et al will be playing live the best early Pink Floyd songs in Athens Technopolis venue. Until then, enjoy this live performance of “One of These Days”…
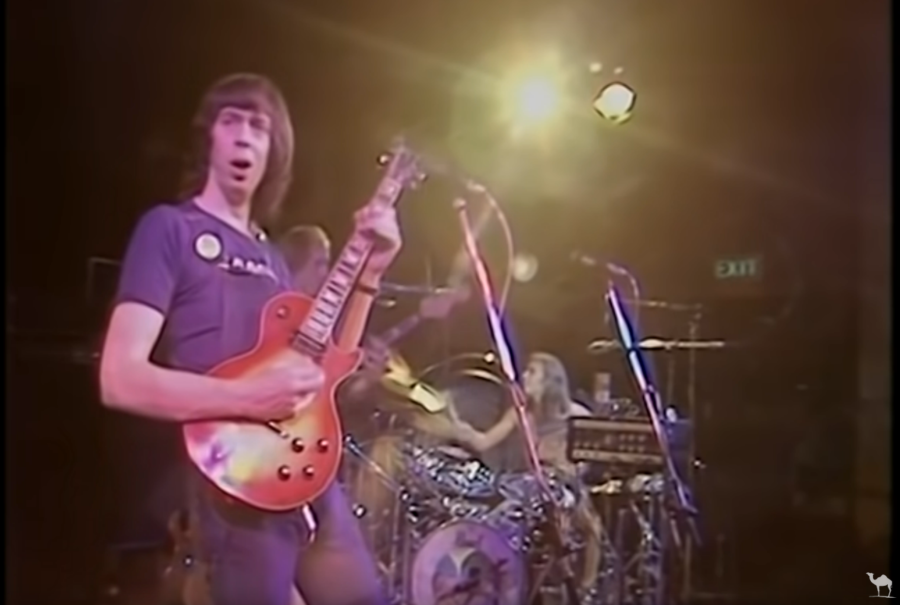
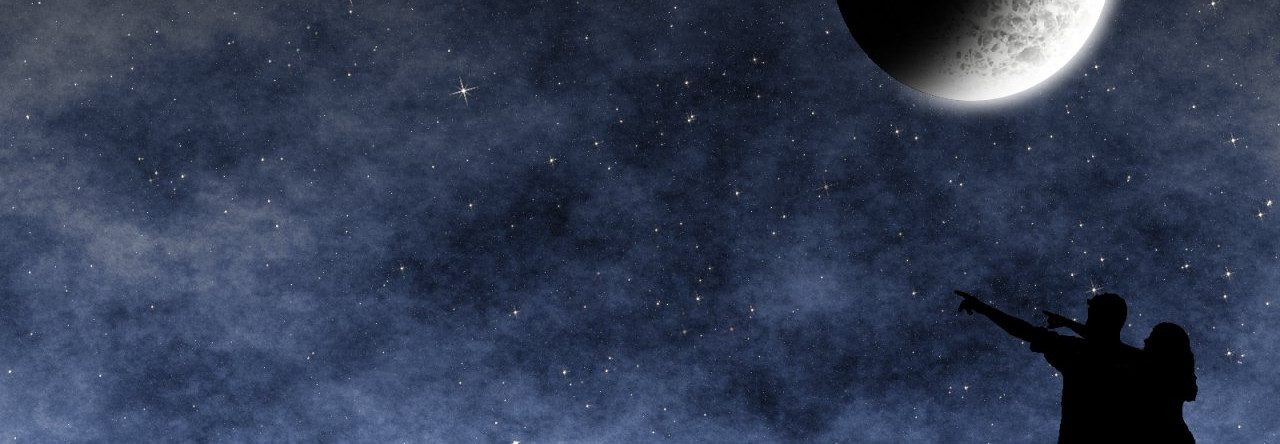
Listen and watch a brilliant live performance by the progressive rock band Camel, one of the best bands of the 70s. This is an instrumental piece called Lunar Sea from their 1976 album Moonmadness. It is progressive rock (or shall I say jazz rock) at its best. Absolute magic, especially after the 5:06 where they start an intense 4-minute jam…